


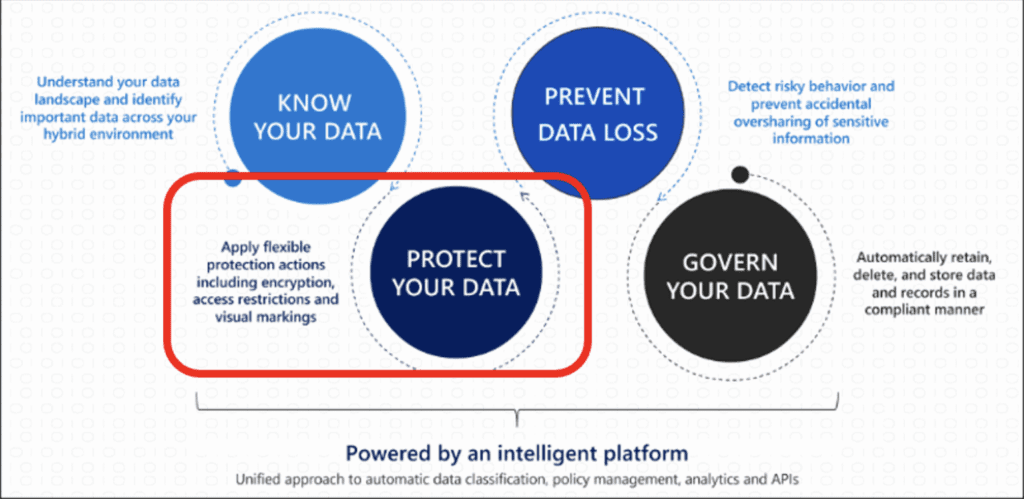
Previously, I have discussed data governance using Microsoft Purview and how Content Explorer and Data Loss Prevention (DLP) are key components to identifying and protecting sensitive data. In this installment, we will review Purview’s Information Protection features, also referred to as Sensitivity Labels. Referring to the diagram below, Information Protection provides the ability to not only label sensitive data, but also enforce encryption and watermarking controls. As we will see, encryption and watermarking will provide a way to further restrict who can see the data (internal or external to the organization) beyond typical access control lists, group memberships, or file sharing. These labels can also be used as a criterion in DLP policies so that they can be made more accurate.
Today I will show how to create, publish, and apply an example sensitivity label called “Top Secret!” that is intended to be applied to any files or meetings related to an upcoming merger. This will be a fairly simple example, but rest assured that Purview can be configured to accommodate any number of more complex requirements. Let’s start with the order of operations:
- Create a label and configure encryption and watermarking.
- Publish the label to a subset of users.
- Apply the label to files manually.
- Optionally, automatically label data based on the contents. (Auto-labeling does require the E5 compliance add-on or a full E5 license.)
Each of these steps contains different configuration options that determine what labels do and what impact will be seen by users. Of course, please exercise caution and test, test, test before making changes to a production environment.
Creating the Label
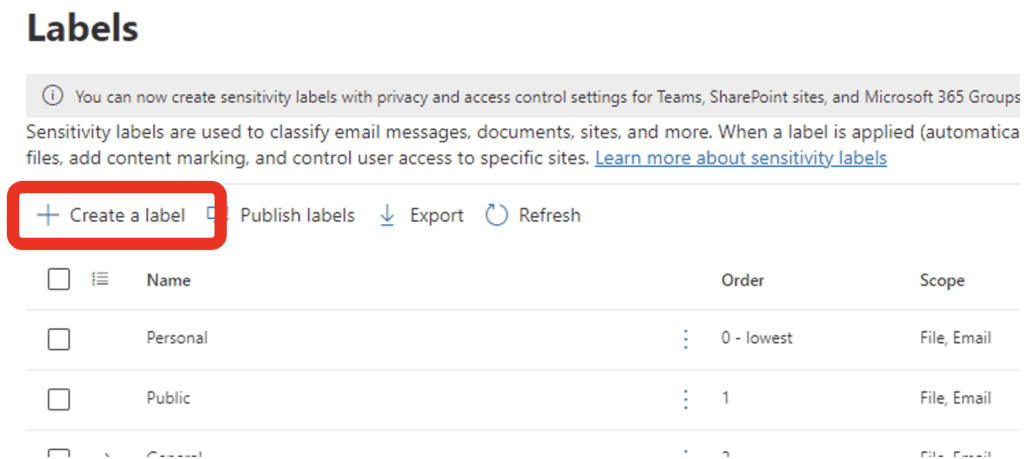
In the Purview Compliance management portal, go to the information Protection menu, select Labels, and Create a Label:
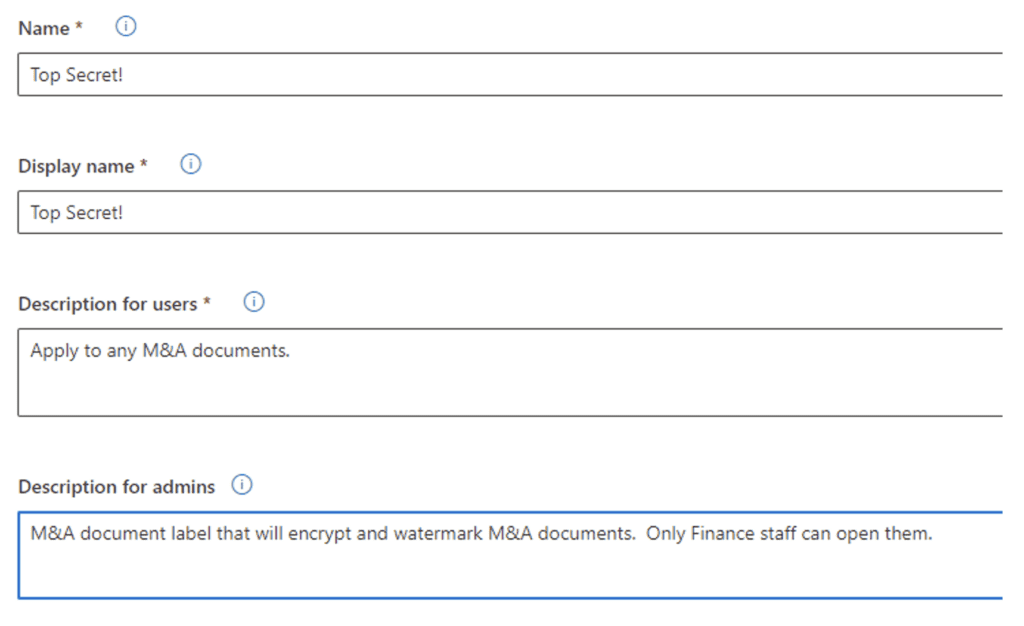
Then, name the label and add descriptions where indicated:
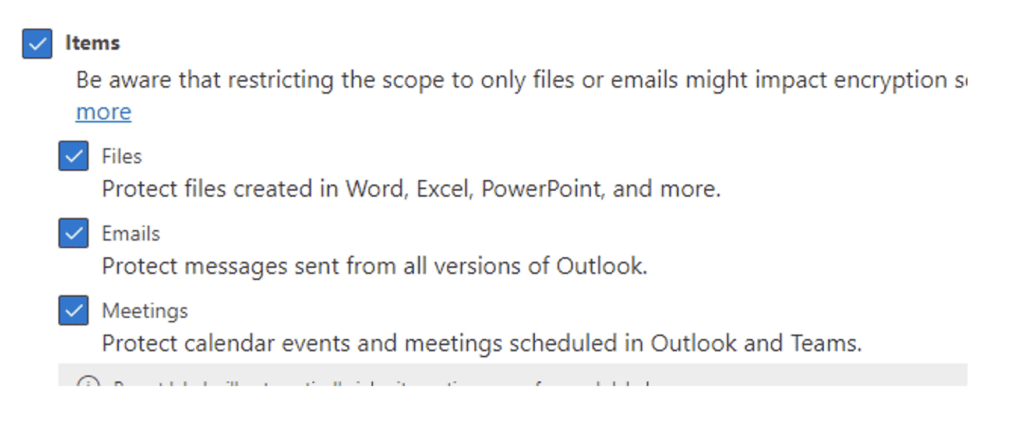
Define the scope:
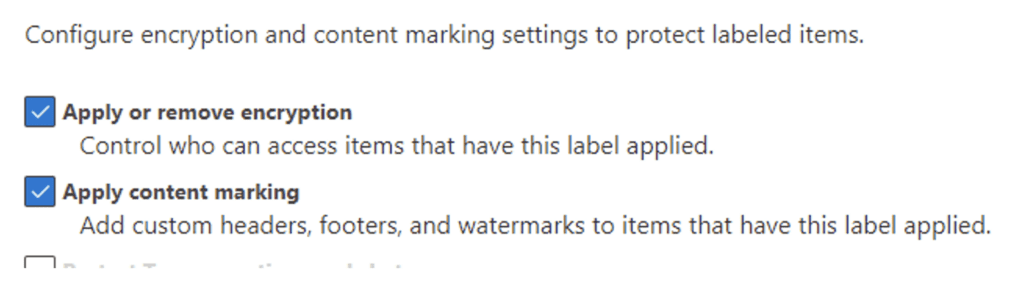
Select encryption and Content Marking:
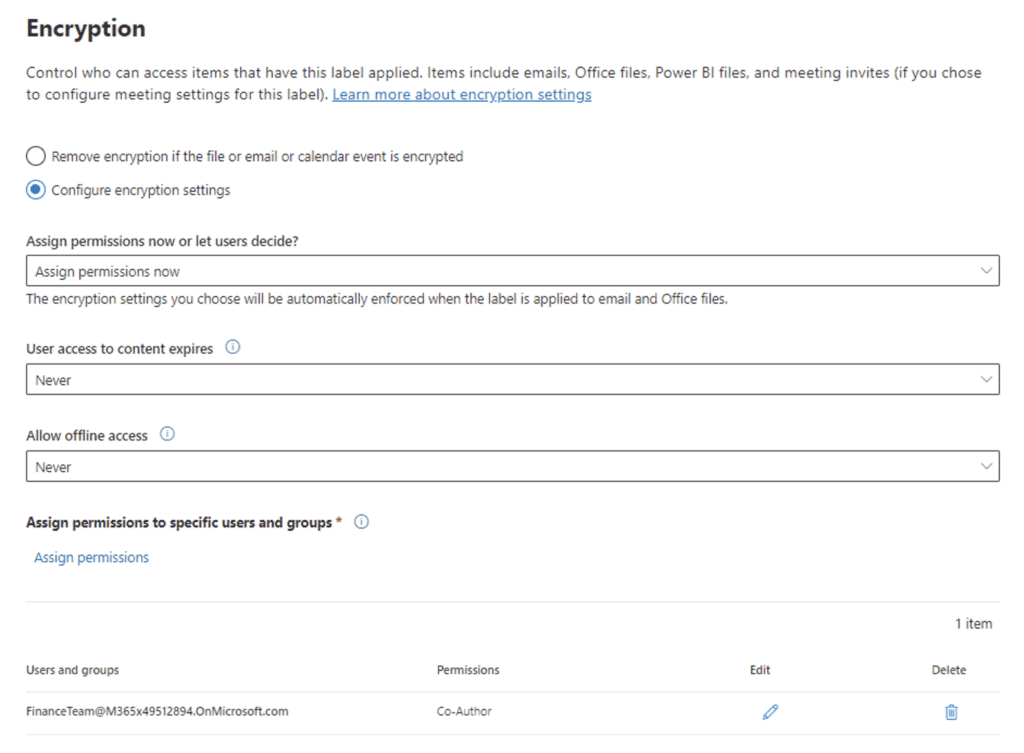
Configure the encryption settings. In this example I have selected to only assign the Finance Team to be able to decrypt and access data with this label, and all Finance Team members are co-authors:
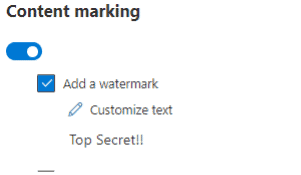
Add a watermark:
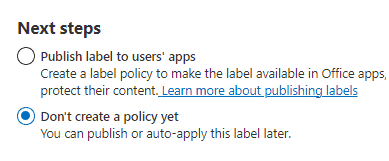
Leave the other options blank for now, including auto labeling, and click Create. For now, let’s also switch off publishing.
You should now see your new label in the Labels list! Now that the label has been created, we need to publish it so that it is available to the people that will need to use it.
Publishing the Label
Go to the Label Policies menu and select Publish Label:
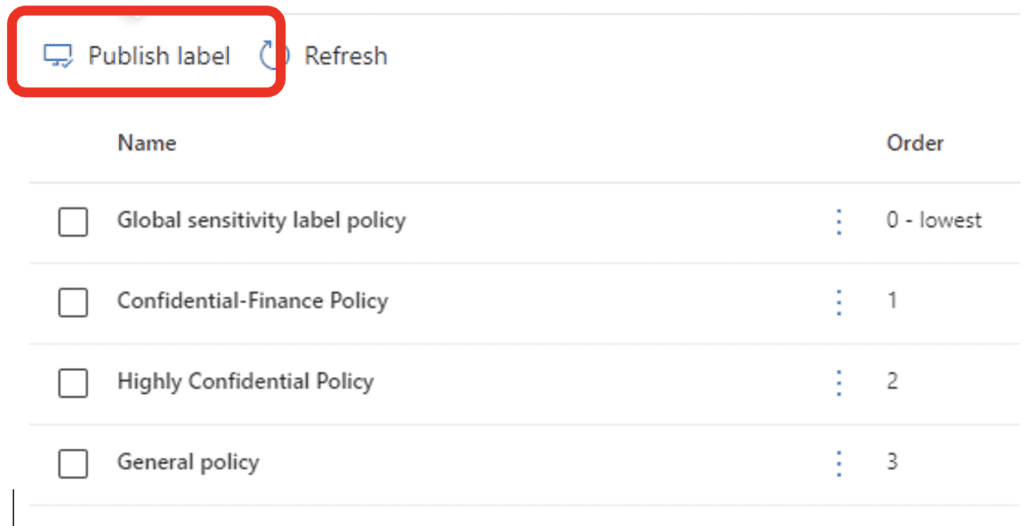
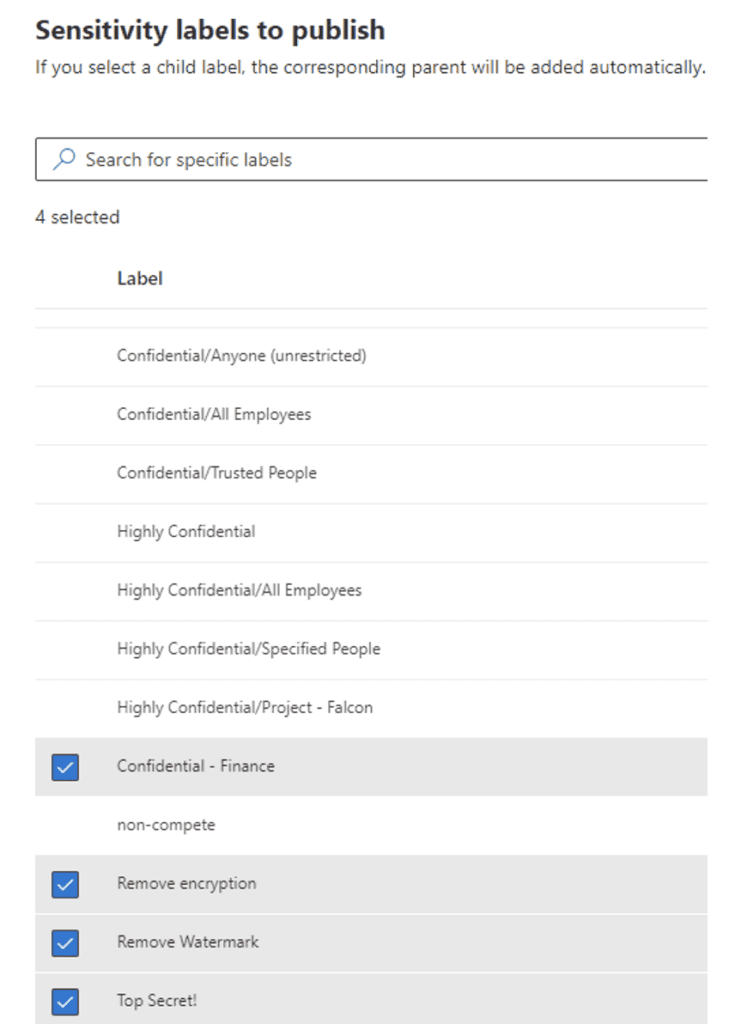
Now, select the label or labels you want to publish to a particular user or group. If a group needs multiple labels for their data, you can publish all the labels in one Label Policy for that group. I will select four labels here:
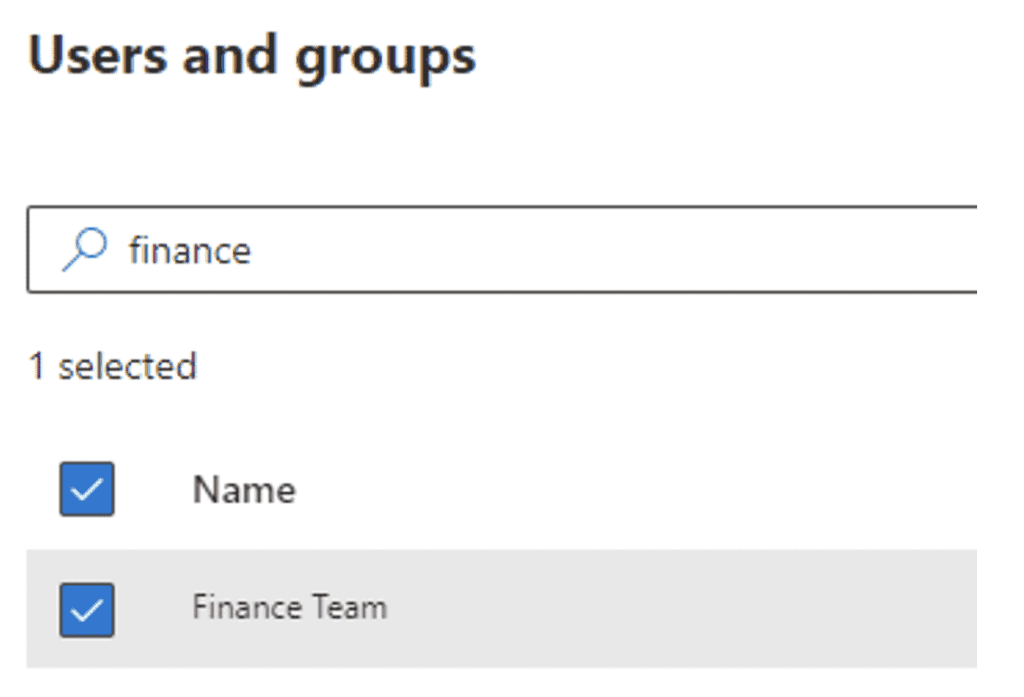
Select the group to publish the label(s) to – in this case the Finance Team:
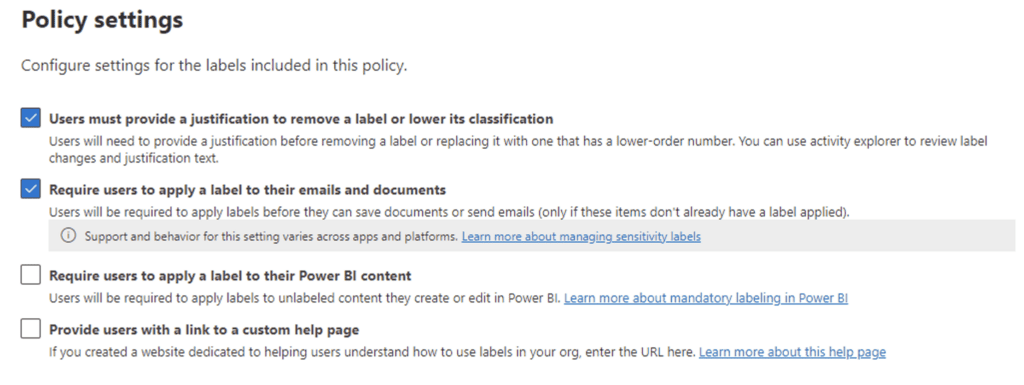
Select the policy settings that govern if the Finance Team is required to label their files and email, provide justification to change a label, etc. In this case, we will require label usage and ask users to justify why they would remove or change a label:
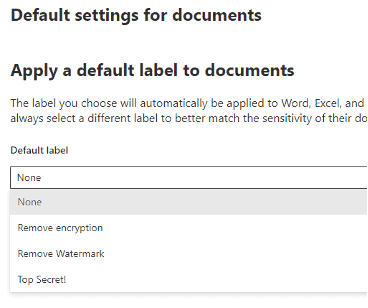
Decide if you want a default label to be applied to documents acted on by the Finance Team. Since not all documents this group interacts with are related to the merger, let’s leave this at None:
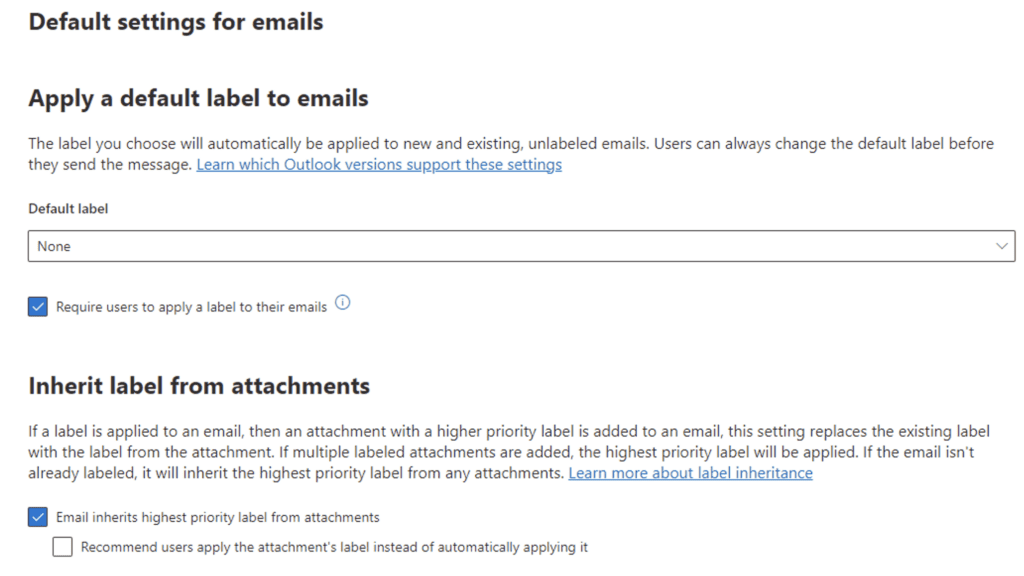
Similarly, decide if there should be a default label for the Finance Team’s emails. Again, since not all emails will be merger-related, let’s leave this as None, but we will require them to label all their emails. In addition, we want an email to inherit the label automatically from an attachment if the attachment is labeled.
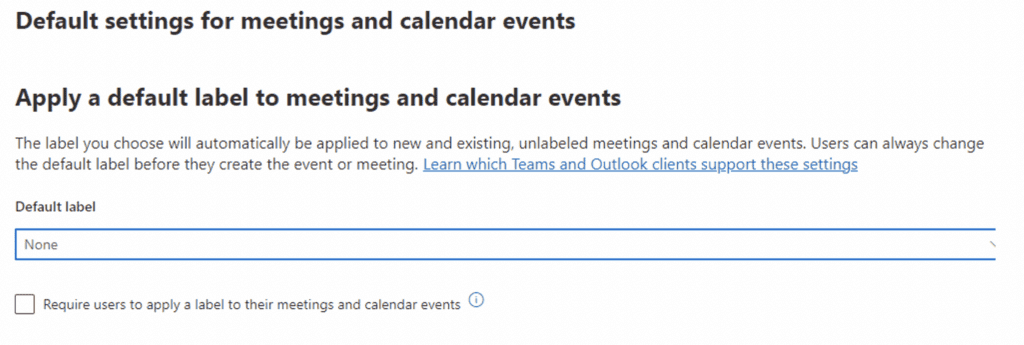
You can also add default labels to calendar entries, but we will also leave this set to none, nor will we require a calendar label:
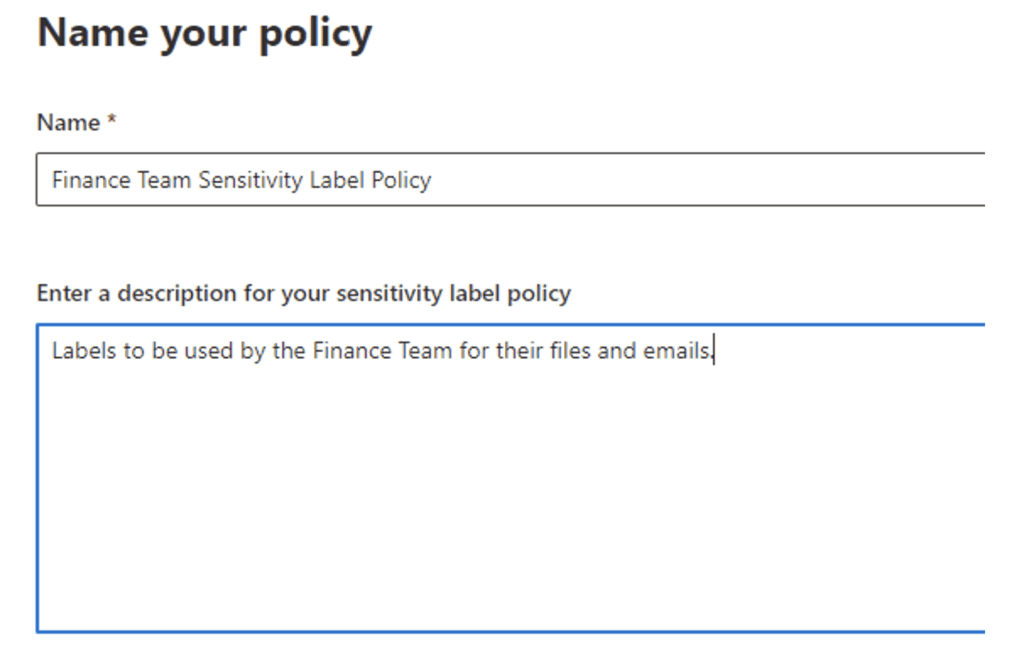
Name this policy. Often, different labels will be used by different groups, so you would want a separate policy for each group.
In about 24 hours, the Finance Team members will see these labels start to appear in their Microsoft Office applications and they can start using them. (The labeling requirements will need to be communicated to that group well in advance of publishing and requiring them to be used.)
The Finance Team will now be required to manually label their documents and emails. However, what about historical files and emails in their Microsoft 365 tenant? It probably isn’t practical to ask them to go through all their records and label them manually, and this is where auto-labeling comes into play. Auto-labeling policies can be set up to label data in the background based on the data’s content.
Auto-Labeling Files and Emails
Like publishing a label, you use an auto-labeling policy to define and activate automatic labeling. However, you will see some similarities to DLP as we set the policy up, since auto-labeling (like DLP) is using the content of the files and emails to automatically determine what action should occur. In this case a label will be applied, whereas DLP would use similar logic to block an email from being sent outside the organization, as an example.
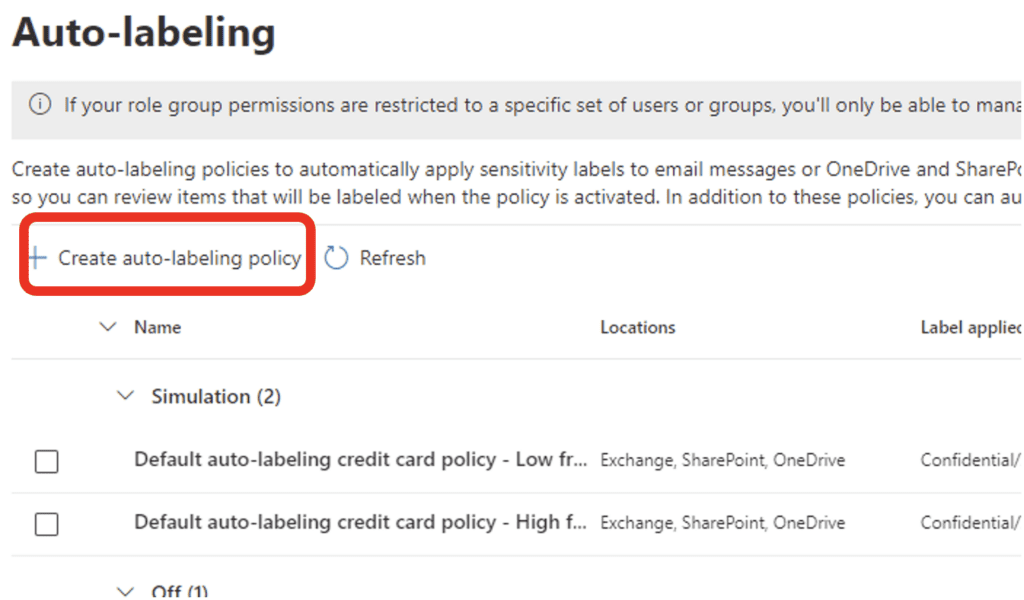
Go to the Auto-Labeling menu under the Information Protection section of the Purview Compliance Portal and click on Create An Auto-Labeling Policy:
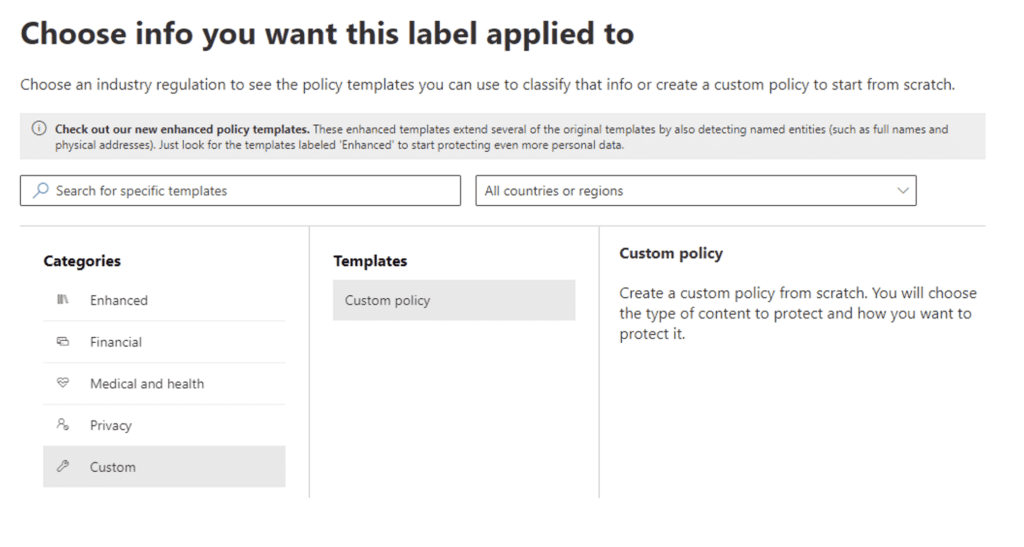
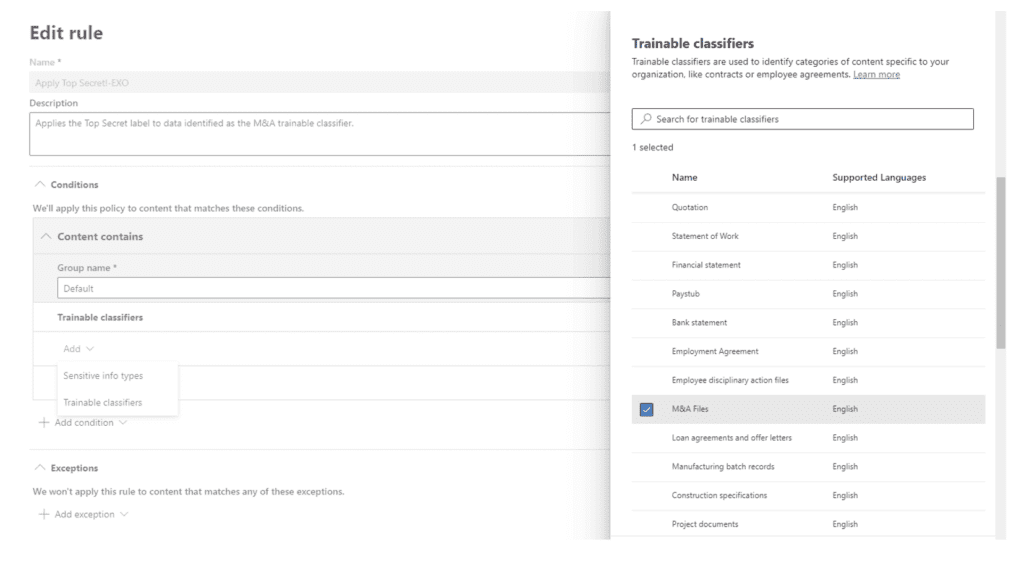
The next screen asks what kind of data you want a label automatically applied to (this is the same screen you would see in DLP, incidentally). For our example, we will want the “Top Secret!” label to be applied to any data detected as the M&A trainable classifier (which has already been configured). Since that trainable classifier is not part of an auto-labeling template, we will create a custom policy:
Now name your auto-label policy:

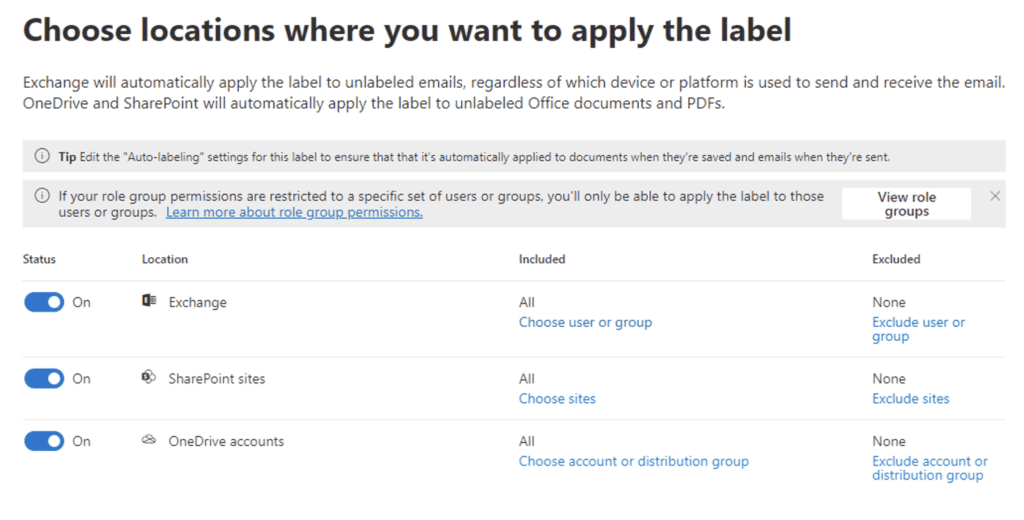
Select what data locations you would like the auto-label policy to act on:
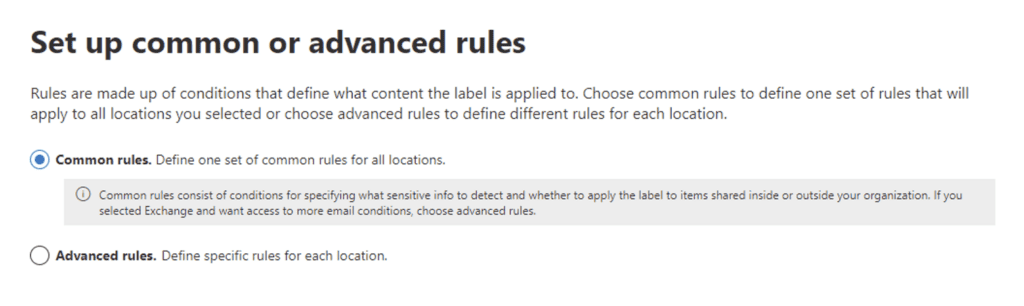
Since we want to apply the auto-label to files and emails the same way, let’s use Common Rules. (Advanced Rules allows you to create different criteria for Exchange, OneDrive, and SharePoint separately.)
Add a new rule that configures the conditions for the “Top Secret!” label to be applied:
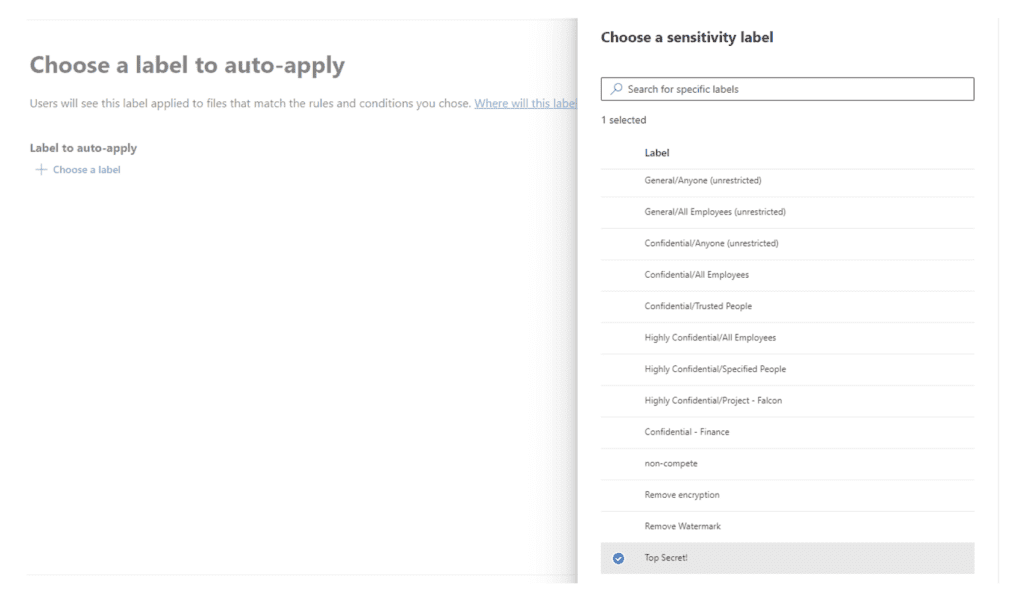
Now, choose the label to auto-apply:
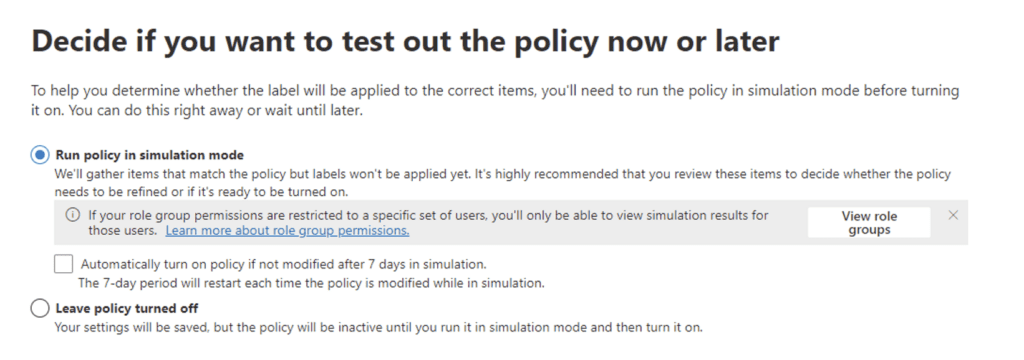
We will run this in simulation mode for now so we can see what the impact of the policy will be. That way we can tune or correct any mis-identified data over the next couple of weeks.
Now, let’s give all of this a week to process. Once that week passes, you can have a look at how that label has been used and what data the auto-label policy identified.
Check the Results
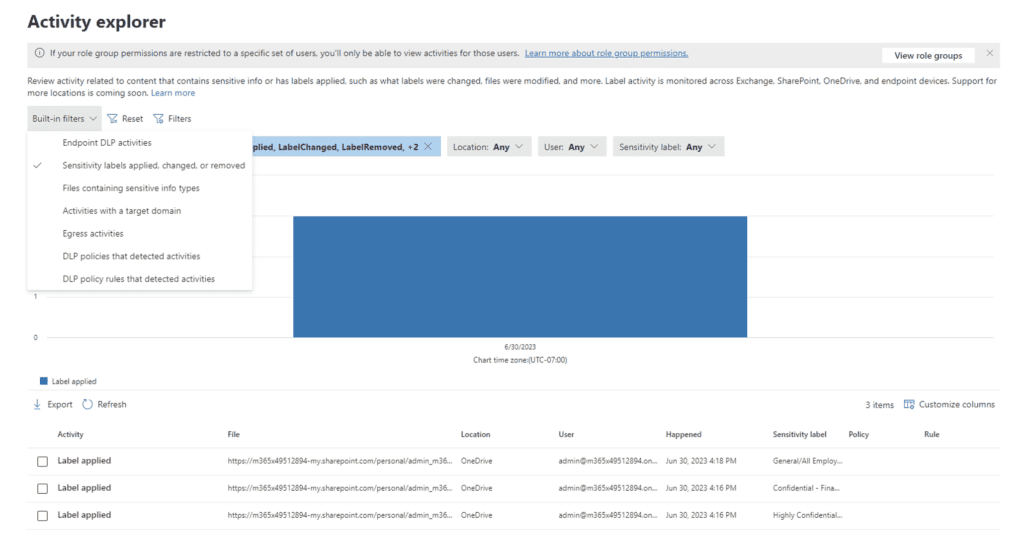
You can use Activity Explorer (located under the Data Classification menu) to review any labeling activities:
Next Steps: Monitor, Gather Feedback, and Refine
So now what? We have seen how to set up a label, restrict data usage, enable people to use the label, and configure Purview to automatically label data. The journey doesn’t end there (as you can probably guess). Developing a comprehensive sensitivity label taxonomy that is aligned with your organization’s requirements and processes is a HUGE effort. My advice is to start small, introduce this to a willing volunteer group, and closely monitor how labels are used while soliciting feedback from the people that are using them. You will absolutely need to put time and effort into continually tuning and refining the labels and your approach. This follow-up effort is critical to developing labeling strategies for all of your sensitive data and getting buy-in from people impacted.
If you want to learn more, my colleagues and I help clients with Purview and data governance planning, design, and governance programs all the time. Please reach out if you need some help!
Learn more about the benefits of Purview
Contact our team of Purview experts to learn more about protecting and governing your confidential data today!
